Binoculars are optical tools to view distant subjects for tactical or leisurely use. However, you’ll have to figure out how binoculars work before getting started. You’ll also need to understand the different binocular nomenclature, designs, types, and uses.
Binoculars are, in essence, two telescopes mounted and lying side by side, one for each eye. They’re pivoted at the center to be moved apart or towards each other to fit different-sized faces. A more intimate look at each physical part will answer the question, “How do binoculars work?”
Since they have a viewing mechanism like human eyes, binoculars are more comfortable than two telescopes. They generate depth perception and improve our visual acuity by giving us two sets of data to process and combine.
Binoculars have diverse applications as far-flung as hunting, sporting events, birding, stargazing, and military surveillance.
Understanding How Binoculars Work
The essential parts of a simple pair of binoculars include the following:
- Objective lenses: The objective lenses take in light and capture the image.
- Eyepiece lens: The second pair of lenses (eyepiece lens) magnifies the image to be more evident to the naked eye.
- Prisms: The prisms correct the orientation of the magnified image.
Before things get complicated, let’s delve deeper into the science behind them.
How Do Binocular Lenses Work?
The fundamental principle behind how modern binoculars work and magnify a view relies tremendously on how a lens refracts light.
Light Refraction
Light rays travel in a straight path through a vacuum but change speed as they pass through different materials. As light passes through a thick medium like water or the glass in a lens, it slows down.
Change in speed causes the light waves to bend; this is called refraction. Light refraction causes a straw to look like it is bent when it is in a water glass. It also has many practical purposes and is the key to magnifying what you are observing. By altering the lenses, binocular manufacturers can control the light.
Lenses
A lens is a piece of curved glass shaped a bit like a lentil. The word ‘lens’ comes from the Latin word for lentil. The glass lens causes the light rays to slow down and bend.
Instruments like telescopes or binoculars use specially shaped glass lenses. These lenses often consist of a focusing mechanism that can better control the bending of the light waves. There are two types of lenses, as you will see below.
Convex Lens
If the lens curves such that its outer ends are thinner than its middle, it’s referred to as a convex lens.
When light rays enter, they bend toward the center as if attracted by a magnetic force. Thus, it’s vital to note that a convex lens brings distant light rays into focus.
The lens concentrates the rays of light into a small image that’s projected a short distance away. It is commonly referred to as a converging lens since it directs each light path into a converged point.
When you look at subjects through a convex lens, you’ll notice how they appear more prominent. Consequently, this trait makes the convex lenses ideal for magnifying glasses. The objective lenses and eyepiece lenses are also convex in shape.
Concave Lens
The concave lens curves the opposite way, with the middle thinner than the outside. A concave lens makes the light rays spread out radially like a sunflower’s petals.
Also called a diverging lens, a concave lens causes the light rays to spread out like they do in movie projectors. That said, you can now visualize how the light path diverges from the projector’s lens and onto a screen.
Basic Binocular Optics

Image magnification is an essential part of understanding how binoculars work. To make out something distant, you can use two convex lenses, placed one in front of the other. The first lens captures light rays from the remote object, producing a focused image a short distance behind the lens.
This feature, referred to as the objective lens, is termed so because it’s nearest to the item you are observing. The second lens is the magnifying glass – it picks up that image and magnifies it. This is the eyepiece.
When light rays flowing from a distant object pass through a convex lens, they can result in an inverted image. This inversion explains why items can appear upside down if you look at them through a magnifying glass.
This feature is not critical when stargazing using a telescope, but we require a right-side-up image for successful bird watching or following the action at a theater.
In 1854, an Italian named Ignazio Porro patented a telescope design. It featured two prisms set at right angles to each other between the objective lens and the eyepiece. Even though a prism is a solid glass piece that is functionally a mirror, it lacks reflective coatings.
Light rays that enter a prism cannot get out if they strike a surface at too great an incident angle. In lieu, they reflect, as if from a perfect mirror.
So, the pair of prisms inside the binoculars work hand in hand to rotate the image 180 degrees. The first prism rotates the image through 90 degrees; then, the subsequent prism rotates another 90 degrees.
Thus, the two prisms effectively turn the image upside down, back to the right way. The prisms can be arranged either in a vertical arrangement (also known as roof prisms) or horizontally (Porro prisms).
Binoculars 101: Designs and Nomenclature
Binoculars are constructed in two basic designs – Porro prism design and Roof prism design. Understanding and differentiating between these two designs will help us answer, “How do binoculars work?”
Porro Prisms
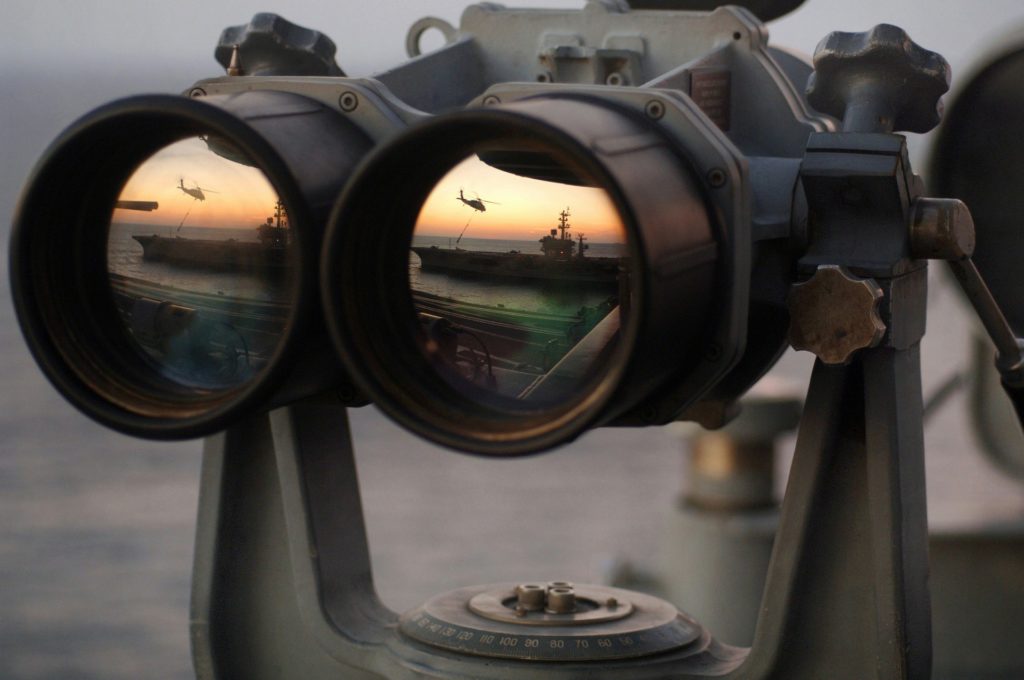
Porro prisms are arranged alongside each other, horizontally, and at 90 degrees. This technology has been around for the last few centuries.
Due to the horizontal arrangement, Porro prism binoculars are bulkier. However, they are also simpler to manufacture, so they are cheaper than roof prism binoculars.
The prism alignment is more delicate and can easily be displaced. A drop may destroy a set of Porro prism binoculars, while it might not damage binoculars with roof prisms. Furthermore, Porro prism binoculars are usually not fully waterproof.
Roof Prisms
Roof prism binoculars use two designs: The Schmidt Pechan and Abbe-Koenig prism.
Roof prisms are configured in a straight line inside the barrel. They are compact and streamlined binoculars. It might seem that the light takes a straight path as well. However, the direction the light follows is much more intricate in roof prism binoculars.
Light must refract around the prisms and exit in a straight line for you to view. The longer focal path also aids in greater magnification of the image.
These prisms are more elaborate and harder to manufacture, which means that they are more expensive. They tend to be sturdier than their Porro counterpart since the prisms are in a straight line. This feature makes them harder to knock out of alignment.
What to Look for When Buying Binoculars
Magnification
Binoculars use a combination of two numbers: 8×42, 10×25, etc. The first number signifies the magnification of the object when looking through the binoculars. So, if you encounter a pair of binoculars with the specification 8×42, it means it has eight times magnification.
Objective Diameter
The second number refers to the objective lens’s diameter in millimeters. The diameter of the objective lens determines the image sharpness. Larger diameters let in more light, leading to a brighter image with more detail and better low-light performance.
Binoculars with larger objectives (second number), e.g., 8×50, are perfect for observing distant objects.
Field of View
The field of view is how much area you’re viewing. It depends on the binocular’s optical design and is inversely proportional to the magnifying power.
A linear value is assigned to the field of view, e.g., what width of view (in feet) will you see at 1 000 yards. Higher magnification gives you a smaller field of view, but you will get a more detailed picture.
You won’t see as much detail in the image at a lower magnification. However, you will see a larger area.
Exit Pupil
Binoculars center the light gathered by the objective lens into a beam. The beam’s diameter, also called the exit pupil, is obtained by dividing the objective lens diameter by the magnifying power.
For the brightest image, and to maximize the sharpness, the exit pupil should be equal to the pupil’s diameter. It should be about 3 mm in the daytime and 7 mm (approximately two times larger) at night. If the light cone streaming out of the binoculars is larger than the pupil, the light gets wasted.
A small exit pupil will present an observer with a dimmer view. This unclear view is because only a tiny portion of the retina’s light-gathering surface is used.
A larger exit pupil eases the process of placing the eye where it can receive the light. This ease of placement helps avoid an image with darkened borders. It also means you can discern the resulting image quickly, which is essential when looking at birds or animals that scurry.
Small exit pupil binoculars may also be tiring on the eye because the instrument must be held precisely in front of the eyes to form a noticeable image.
Close Focus Distance
The close focus distance is the nearest point that the binocular can focus on. This distance usually varies from about 16 inches to 100 feet, depending on the binoculars’ design.
Eye Relief
Binoculars are supposed to be held a short distance from the face so that the entire field of view is visible. Eye relief refers to the exact space required to maintain a pair of binoculars that distance from your eye. This feature is crucial for people with spectacles. If the eye relief is too close, it is difficult avoiding your eyewear hitting the eyepieces.
Types of Binoculars and Their Uses

There are several different types of binoculars – the most straightforward classification depends on the size. If you want to view sharper images and avoid glare, look for a pair that are multi-coated or fully multi-coated. Uniform coating should improve your lens’ ability to transmit light, thus minimizing light loss.
Compact Binoculars
Amateur thrill-seekers can use these for mobile adventures where slight magnification is required quickly and on the spur of the moment. They easily fit in pockets, explaining why they have smaller objective lenses than foldable binoculars.
Midsize Binoculars
These have good to excellent magnification and the broadest range of choices. Consequently, you can choose binoculars with a small magnification number and a larger objective lens.
Full-size Binoculars
These are used in situations where binoculars’ size and weight are not an issue and power outweighs any drawbacks. They may require a stand or support for prolonged viewing.
Foldable or Mini Binoculars
Where portability is the immediate concern, mini binoculars fold down into a small and easily transportable package. Although the objective lens is larger than typical compact binoculars, they don’t take up much space when packing since they are foldable.
Wide Angle Binoculars
Wide-angle binoculars enlarge the field of view, making it possible to spot objects in vast, open areas. They are best used for landscape viewing, creature spotting, and sporting events.
Zoom Binoculars
These let you adjust the magnification to get a closer optical view of your subject. In turn, this gives you an improved image.
High-powered Binoculars
Astronomers often use these as a more portable alternative to telescopes. High-powered binoculars have exaggerated magnification levels to allow one to see objects at enormous distances. They are big and bulky because of that extra magnification, but they are ideal for any long-distance viewing.
A shoulder harness comes highly recommended when using large, high-powered binoculars to prevent neck stress and fatigue. Using the straps also minimizes the chances of slippage or damage.
Image Stabilizing Binoculars
This category of binoculars eliminates mistakes made thanks to human error, e.g., image shake). These expensive binoculars are suitable for activities that entail swift movements, such as bird-watching or enjoying a polo game.
How to Choose the Best Binoculars
Some of the most important factors to consider before making your first purchase are listed below.
- What is your budget?
- What is the primary purpose of using binoculars?
- Where will the binoculars be used, and are there any special requirements?
Do you plan to use your binoculars for water activities? If yes, you’ll need waterproof and fog-proof binoculars filled with anti-fogging nitrogen gas to prevent them from steaming up. A decent pair of binoculars comes with rubber grips and good rubber eyecups to make a tight seal around your eyes.
Not to be mistaken with each other, fog-proof binoculars are superior to basic waterproof ones. Fog-proof binoculars are highly resistant to moisture permeating them and will remain clear.
At the same time, it’s crucial to confirm your binoculars’ IP rating (Ingress Protection). The higher the numerical values, the higher the resistance to water or dust.
Binoculars with higher magnifications will amplify the effect of your hand movements. So, if you buy a pair that magnifies more than about eight times, you may find it challenging to keep the lenses steady enough to observe anything coherent at full magnification. Higher magnification binoculars also have a limited field of view, as explained above.
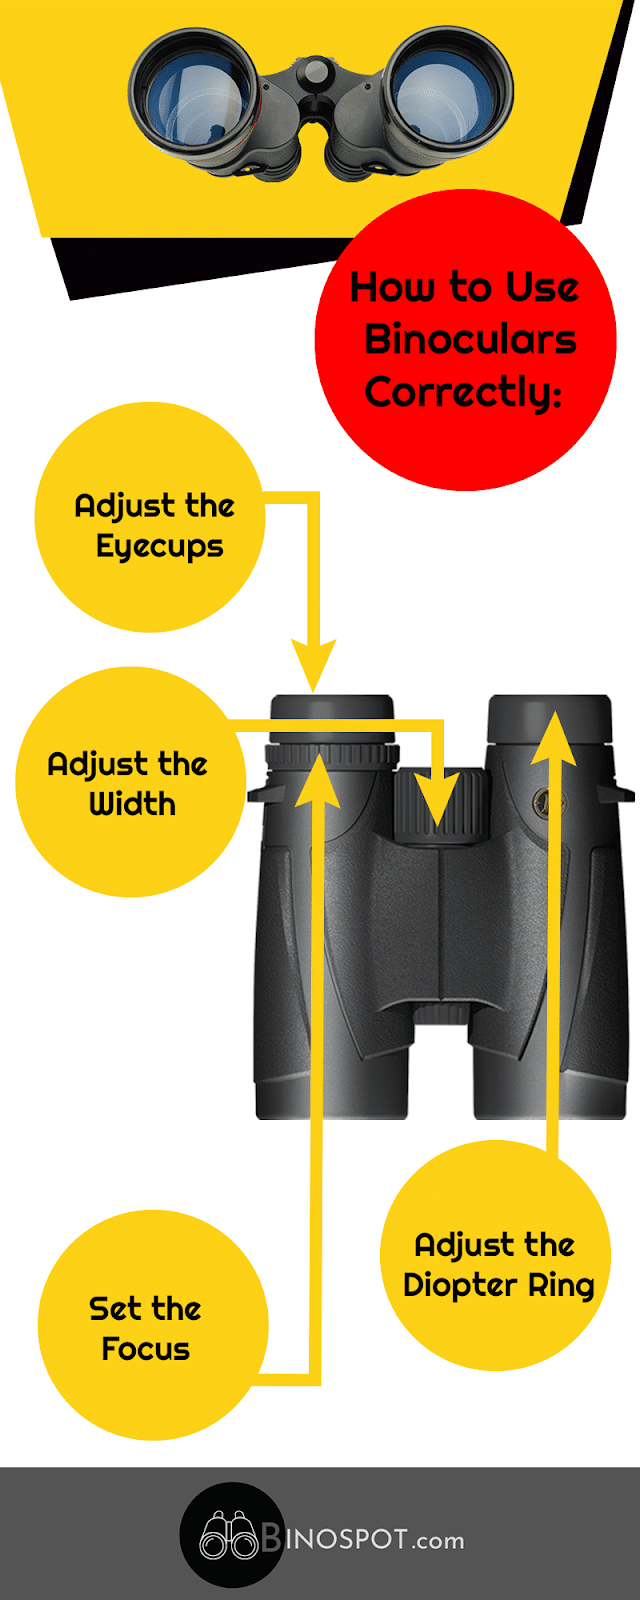
How to Use Binoculars Correctly
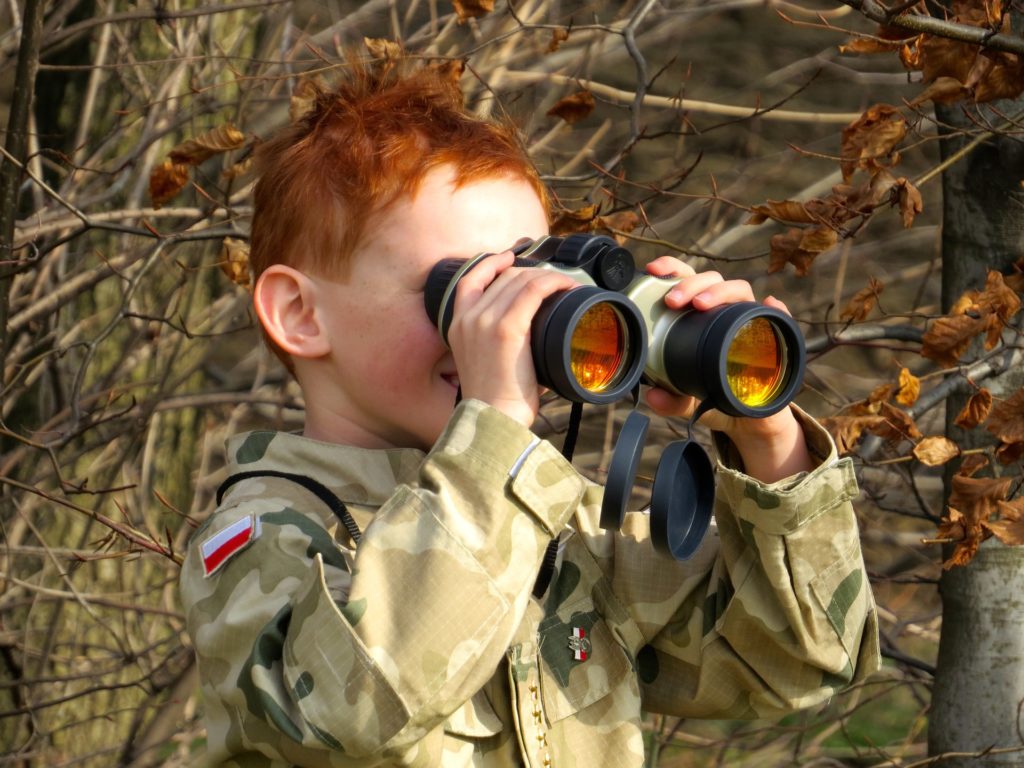
To get the most precise images out of your binoculars, you’ll need to adjust them to your eyes. Find a static object and stand about 30 feet away from it, then follow the steps below.
Adjust the Eye Cups
Most binoculars have adjustable eyecups on each eyepiece. These eyecups should be down if you wear spectacles and up if you do not.
Adjust the Width
A center hinge connects the binoculars’ two eyepieces. You can also conveniently adjust the distance between the eyepieces to fit your eyes. First, spread the eyepieces the farthest they can go, then put them up to your eyes. Now, move the pieces together until the two circles in your view merge into one eyepiece lens.
Set the Focus
On most binoculars, there is a large center ring that can spin to focus the barrels simultaneously. It is best for quickly viewing a subject and getting a clear image without much hassle. Use this wheel to change the focus of your binoculars every time you look at an item.
Adjust the Diopter Ring
Most binoculars come with a diopter ring on top of the focus wheel. This wheel adjusts only a single eyepiece – typically the right-hand-side one. On more frequent occasions, you will find the diopter on the eyepiece. It allows you to compensate for differences between your eyes to get the best image possible.
Turn both the diopter and the wheel counterclockwise until they stop. Now, cover the right eyepiece. Looking through the left eyepiece, turn the focus wheel until the sign comes into focus. Get it as sharp as you can.
Next, cover the left eyepiece and look at the sign using only the right side. The object might seem a bit blurry, so turn the diopter adjustment ring until it comes into clear view. From then on, to focus on something, you’ll only need to turn the wheel.
Four Common Leisure Uses of Binoculars
Sporting Events and Concerts
It can be hard to see the field activities because of the many people and the distant objects. Using these binoculars should give you a wide field of view to see the whole game or performance, and not just one or two players at a time.
Bird watching
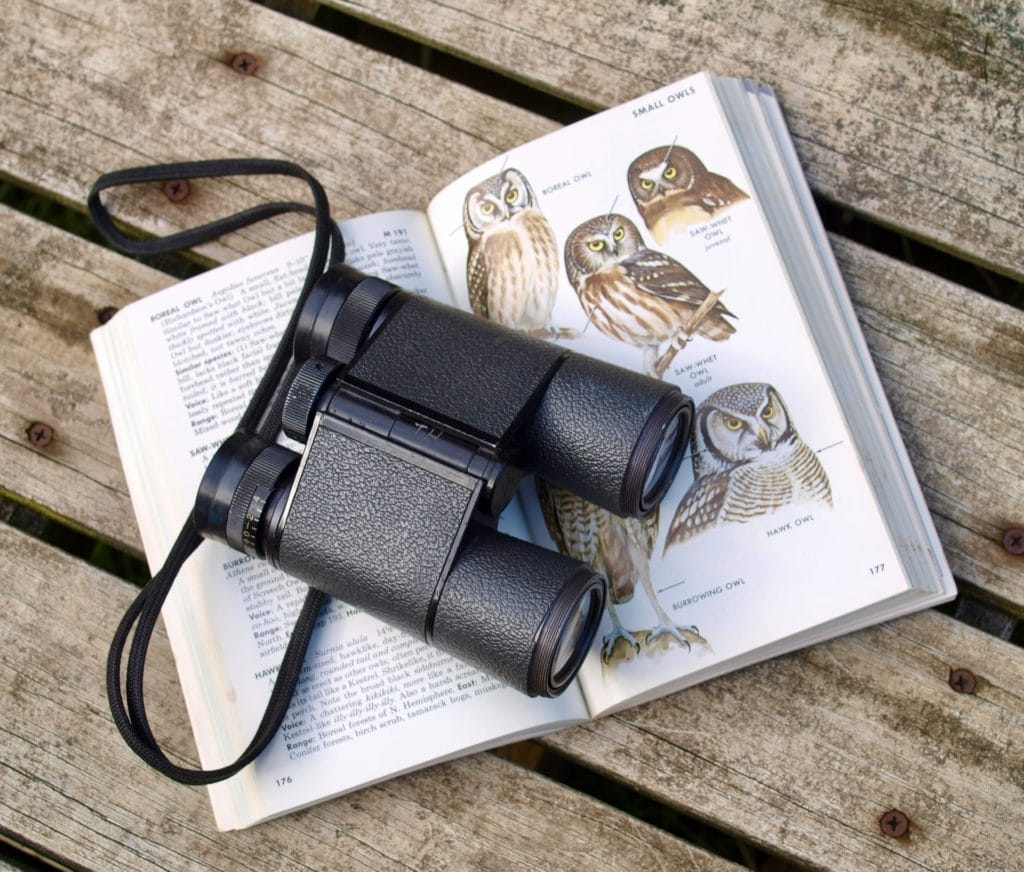
A wide field of view significantly helps bird lovers find birds – small, large, or rare. But a higher magnification level is also great if you want to see them in detail. Bird watchers would do well with a standard set of binoculars.
Nature Watchers
Like bird watchers, nature watchers will want a wider field of view to locate their subjects, hidden with natural camouflage. But once discovered, they’ll need higher magnifications to be able to see them up-close for observation. Zoom binoculars offer both a wide field of view and high magnification for viewing. The best pair to kick start your birding hobby would be a mini pair with eight times magnification.
Stargazing
Stargazers will benefit from high-powered binoculars that can see farther into the skies. They will often come with a standard ¼-inch UNC thread so you can mount your binoculars to a camera tripod. A tripod comes in handy to save your arms from unnecessary strains. It also keeps your mind attentive to the activity you set out to do in the first place—stargazing!
Conclusion
For the casual user, a reasonably priced compact pair of binoculars can be great fun for “spotting” while out and about.
If you’re serious about your outdoor activities like bird-watching or stargazing, then superior lenses are worth the investment. Protect your eyes and get a fuller experience by investing in a good-quality, long-lasting pair of binoculars.

